
 Kellie Roberts
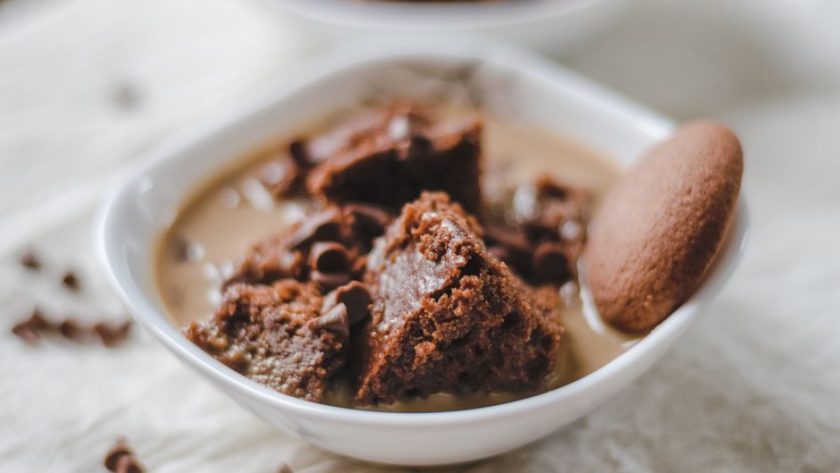
 A chocolate fondant pot is not a raw cake. The center should stay soft because the batter contains more fat and chocolate than a normal sponge, while the hot oven sets the outside first. Bake it for one minute too long, though, and the molten middle disappears. Use the steps below for two generous six-ounce pots or four smaller three-ounce desserts.
Why fondant pots need a soft center, not a raw middle
What the oven is doing
The recipe works through a simple heat race. The outside of the batter touches the hot ramekin and cooks first. The center warms more slowly, so butter and chocolate melt before the egg and flour fully set. That gives you a firm shell and a spoonable middle.
The common mistake is treating fondant pots like brownies and waiting for the whole surface to look dry. By then, the middle may already have the texture of a small cake. A good fondant pot should show a set rim, a slightly puffed top, and a center that trembles when you gently move the ramekin. A wet-looking puddle around the edge signals raw batter. A small wobble in the center signals success.
How to judge doneness without guessing
Heat the oven to 200°C or 400°F before the batter goes in. Place the ramekins on a heavy baking sheet so you can move them safely and keep the bottoms level. For six-ounce ramekins, start checking at 10 minutes. Most ovens need 11 to 13 minutes, but a fan oven can finish the pots faster.
Test one pot first if the dessert matters. Let it stand for one minute, loosen the edge with a thin knife, and turn it onto a plate. If the center runs like liquid egg, bake the remaining pots for another minute. If it holds its shape but still flows when cut, you have the texture to aim for. This small test prevents four disappointing servings.
How to prep six-ounce ramekins in five steps
The five-step setup
- Brush thoroughly: Coat the base and sides with softened butter, reaching into the corner where the base meets the wall.
- Dust evenly: Add one teaspoon of cocoa powder to each ramekin. Rotate it until the butter has a thin, dark coating, then tap out the excess.
- Chill the dishes: Refrigerate the prepared ramekins for at least 20 minutes. The cold coating gives the batter a cleaner path when you turn out the cakes.
- Fill with room to rise: Stop about 1.5 centimetres below the rim. Overfilled pots spill before the center sets.
- Keep the tops clean: Wipe away drips around the rim. Baked batter on the rim can glue the fondant to the dish.
What to do before the oven heats
Melt the butter and chopped chocolate in a heatproof bowl over barely simmering water, or use 20-second microwave bursts. Stir after every burst. The mixture should look glossy, not hot or grainy. Let it cool for two to three minutes before adding eggs so the eggs do not scramble.
Beat the eggs and sugar only until the mixture looks blended and a little lighter. You do not need a huge foam. Too much air can make the pots rise quickly and collapse before serving. Fold in the flour and salt with a spatula, stopping as soon as no dry streaks remain.
You can fill the ramekins up to eight hours ahead. Cover them and refrigerate. Add two to three minutes to the bake time when starting from cold, then test one pot. This schedule keeps the kitchen calm while dinner finishes.
Which chocolate works best for fondant pots?
Compare cocoa percentage, flavor, and cost
Choose dark chocolate between 60% and 72% cocoa. Higher cocoa content gives a deeper, less sweet center, but it also makes the dessert taste sharper. The best choice for a Valentine’s dinner is 70% chocolate: rich enough to taste special, but balanced after you add sugar and butter.
| Chocolate | Specification | Best use |
|---|---|---|
| Lindt EXCELLENCE 70% Cocoa | 3.5-ounce bar, 70% cocoa | Best supermarket-friendly choice |
| Ghirardelli 60% Cacao Bittersweet Baking Bar | 4-ounce bar, 60% cacao | Sweeter, softer flavor |
| Valrhona Guanaja | 70% cocoa, intense dark chocolate | Best for a sharper, restaurant-style finish |
| Guittard 72% Dark Chocolate | 72% cacao baking wafers | Best for easy melting and bold flavor |
My clear pick for a first attempt
Use the Lindt EXCELLENCE 70% bar for a reliable first batch. Its 3.5-ounce size makes weighing simple, and the flavor has enough bitterness to balance the sugar without overpowering the dessert. If you prefer a sweeter pot, pick Ghirardelli 60% Cacao Bittersweet Baking Bar. Do not mix a very bitter 85% bar with the same sugar amount and expect the same result; the center will taste dry and harsh.
For the most intense version, Valrhona Guanaja 70% brings a deep cocoa flavor with a noticeable bitter edge. It costs more, so it makes sense for a small dinner where the dessert is the main event. Melt chopped chocolate rather than using large blocks. Small pieces melt evenly and reduce the chance of scorching.
Five mistakes that make the centers disappear
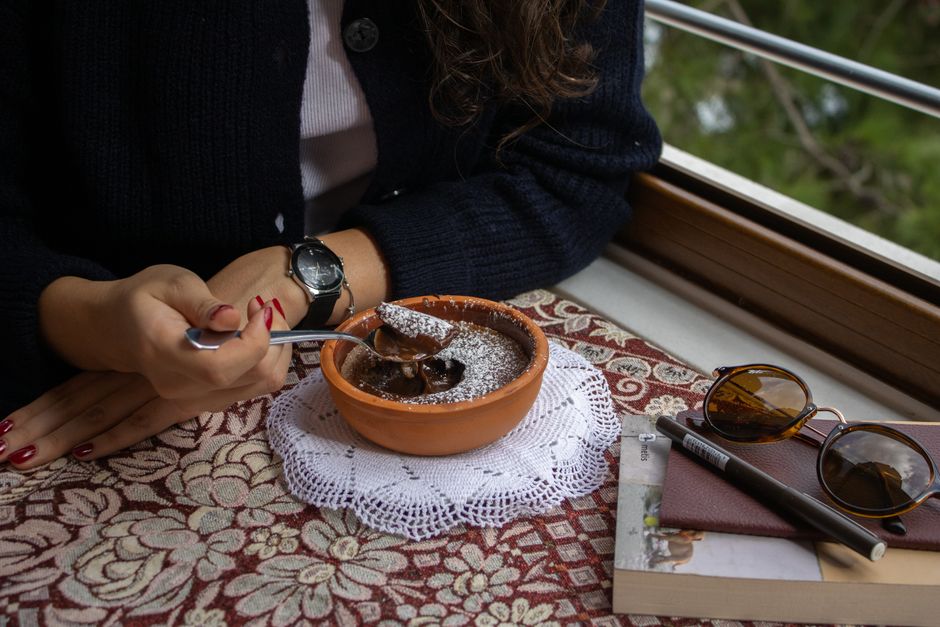
The problems to catch before baking
- Warm ramekins: A hot or greasy dish changes how quickly the edges set. Chill the coated ramekins before filling.
- Cold eggs: Cold eggs can make melted chocolate seize into small lumps. Set them out for 20 to 30 minutes first.
- Too much flour: A packed tablespoon can add several extra grams. Weigh 15 grams for two large pots instead.
- Oven door opening: Opening the door at minute six drops the heat and can leave the outside loose. Use the oven light instead.
- Waiting too long to serve: The center keeps cooking in the hot ramekin. Turn the pots out after one minute, not ten.
How to rescue a batch
If the first pot breaks when you turn it out, do not throw away the batter. The issue may be a thin butter coating or a dish that was not chilled. Serve the damaged portion in the ramekin with vanilla ice cream and treat it as a warm chocolate pudding. The flavor can still be excellent.
If the centers are firm, make a sauce instead of pretending the texture is molten. Warm two tablespoons of cream, pour it over 40 grams of chopped chocolate, and stir until smooth. Spoon the sauce over the cakes. For the next batch, cut the baking time by two minutes and keep the filled ramekins cold until the oven is ready.
The best bake-time plan for a Valentine’s dinner
My recommendation: make the batter early and bake after the main course
Do not bake fondant pots at the start of the evening. They have a narrow serving window, so a long gap between baking and dessert will turn the soft center into a thick sauce. Prepare the batter before guests arrive, refrigerate the filled ramekins, and bake while plates from the main course are being cleared.
| Time | Task |
|---|---|
| Up to 8 hours before | Make the batter, fill the ramekins, cover, and refrigerate. |
| 30 minutes before dessert | Heat the oven to 200°C or 400°F and set out plates, spoons, and ice cream. |
| 12 minutes before serving | Bake the first test pot and the remaining pots together. |
| 1 minute after baking | Loosen the edges, invert onto plates, and serve immediately. |
Build the plate while the cakes rest
Use a cool plate, not a warm one. Add a scoop of vanilla ice cream or a spoonful of softly whipped cream on the side, then finish with a pinch of flaky salt or a few raspberries. Keep decoration simple because the center is the reason to make this dessert.
For two people, bake both pots at the same time. For four people, use four identical ramekins and rotate the tray only if your oven has a hot spot. Do not stack dishes or crowd them against the oven wall. Even spacing gives the sides a similar set, which makes the serving time much easier to predict.